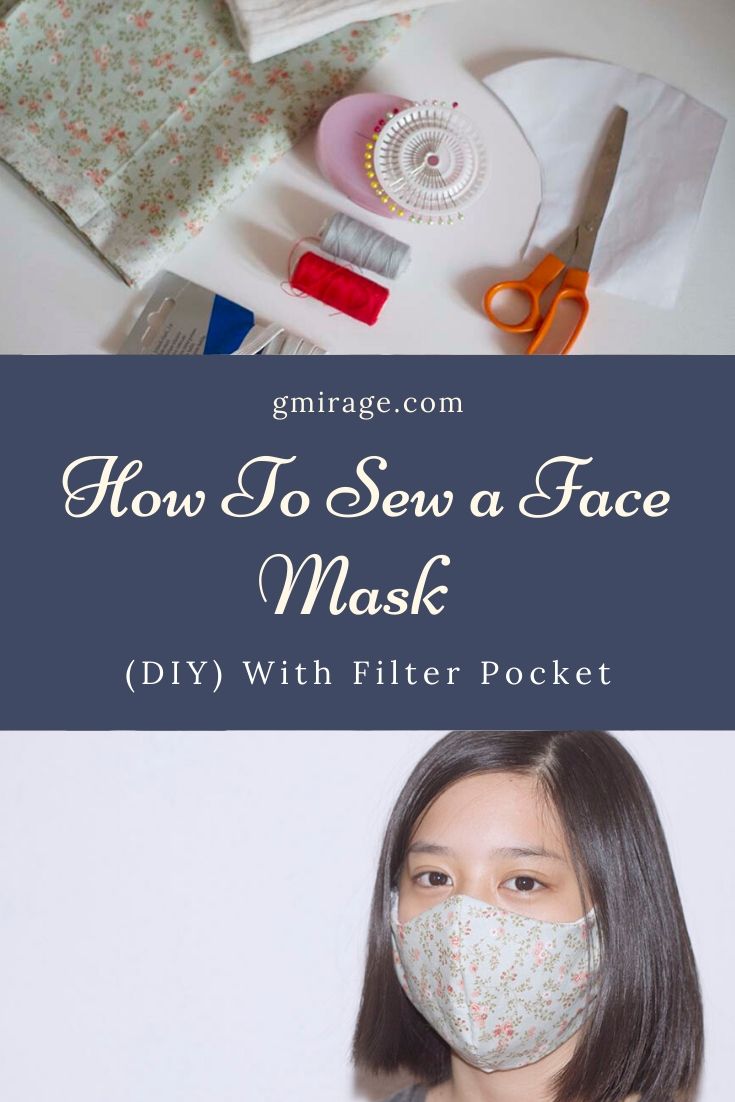
How to sew a fitted face mask? Why need a face mask? And why the need to sew it when you can buy it? A face mask is something we often see worn by Japanese and Korean actors and artists. It’s not new to us, also because anime characters often wear masks as part of their costumes. Sometimes doing cosplays or going to such events, we know how to make the masks worn by characters. We are familiar to how most in Asia see wearing masks a necessity to avoid spreading bacteria when they one is sick.
(This post contains affiliate links. We may earn from purchases made without any cost for you.)
When the Philippine’s Taal volcano erupted in January, there was a demand for masks that there was a shortage of supply within a few days. The two of the most bought masks were surgical masks and the N95 respirator. When news of the virus hit in February, the demand for masks, regardless of the type, rose even more.
Many downplayed the effectiveness of masks in the crisis, saying that it doesn’t really help or that only the medical workers should use masks. Korea though, where the government hasn’t put a lockdown on, has been able to slow down the spread of the virus with the help of, guess what…masks! Professor Kim Woo Ju of Korea’s Department of Infectious Diseases explains in the video below how masks play a role in hindering the spread of the virus. He also pointed out that the prohibition of not wearing mask is so to avoid market hoarding.
In line with the professor’s explanation, and in time for Austria’s announcing that it is now mandatory to wear mask when in grocery stores, we made cloth masks at home. While cloth masks alone is not as effective in deterring viruses, putting a surgical mask in a mask pocket will not only double the layer, the cloth will prevent the surgical mask from getting dirty. The goal is to stop droplets from entering our mouths, and noses, so any additional layer for the surgical mask will do.
Still, don’t go out if not necessary. Following government protocol saves lives. Also put in mind what Romans 13:1 instructs us: “Let every person be in subjection to the superior authorities, for there is no authority except by God; the existing authorities stand placed in their relative positions by God. 2 Therefore, whoever opposes the authority has taken a stand against the arrangement of God; those who have taken a stand against it will bring judgment against themselves.” #StayHome
So here are 16 steps on how to sew a fitted face mask with filter pocket. You can do these with the kids, aside from doing art, crafting and such is a good way to bond with them, while also teaching them a basic skill (sewing) that will be useful later on.
Table of Contents
What You Need in Making a Fitted Face Mask
Ideally, tighter woven fabrics should be used. Given that we can’t go out to buy the materials, our best bet is to find items available within our household. Or you can order online, but with the things going on, there may be a delay of delivery. You may have cloth trimmings from a previous project, so use those. Otherwise, a not often used shirt will do.
Here is a guide you can look into, provided by the Centers for Disease Control and Prevention, regarding a DIY face mask. There are also tutorials on how to make a no-sew face mask.
The NY Times also posted cloth materials tested for effectivity in filtering out particles. It is worth checking out in case you would like to make your own how to sew a fitted face mask tutorial.
Sewing Machine
It will take half the time making a fitted face mask with a sewing machine. I however, gave back mom-in-law’s sewing machine as I haven’t been using it. So I did everything by hand, it worked out well, too.
Pattern
Click here to download our free pattern. There will be two patterns, one for the front cloth and the other for the lining. Cut two pieces for each.
Cotton fabric
Cotton fabrics are soft and breathable. Reason that summer shirts made of cotton are the best to wear when it’s too hot.If you plan to buy, the size should be 13.5cm x 10cm. Amazon has pretty prints, but again, you can upcycle/repurpose your unused shirts, or other clothing that hasn’t been used.
Lining
Ideally, lining should also be cotton but I found these unused birdseye cloth fabric from when my kids were babies. (What treasures you find when you declutter.) Birdseye fabric is a lot more breathable than cotton, thus, it will not feel so suffocating with these two layers together.
Elastic
Many tutorials use elastic, but if you can’t find any, use hair ties or make your own fabric straps.
Wire
I’m not entirely sure which wire to use, or where to get them. I took the wires from our used surgical masks. Since it will be thrown away, I removed the wire and used it for nose-fitting the face masks we made.
Scissors
Not the dull one. ^_^
Needle and Thread
Choose color-appropriate thread for your face masks.
How To Sew a Fitted Face Mask
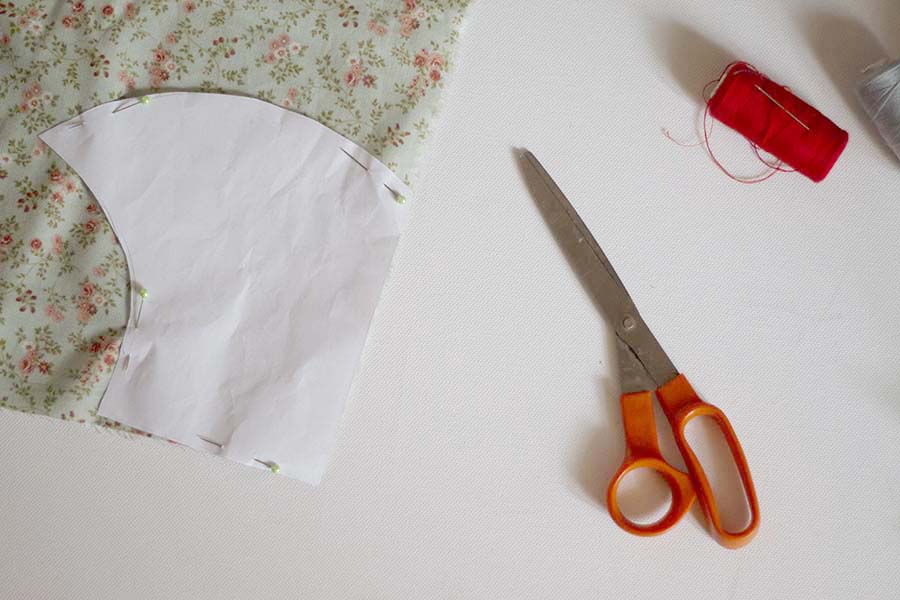
- Pin pattern on cloth that has been folded – if you’re making one face mask, 1 fold is ok. If making a lot, fold accordingly.
- Cut along the pattern, both for the front cloth and for the lining. Remember, the lining will be shorter than the other. I use the edge of the clothing to avoid a run later on.
- Flip your cloth if it’s showing the pretty side. I usually do not cut the curved side as you see in this photo (where one of our cats decided he wanted to be in).
- Iron the cloth pieces.
- Pin the fabrics for the front cloth together (still showing the ugly side). Stitch the curve together approximately half a centimeter. Do the same for the lining.
- Put the sewn fabrics together – with both ugly sides out. Pin in place.
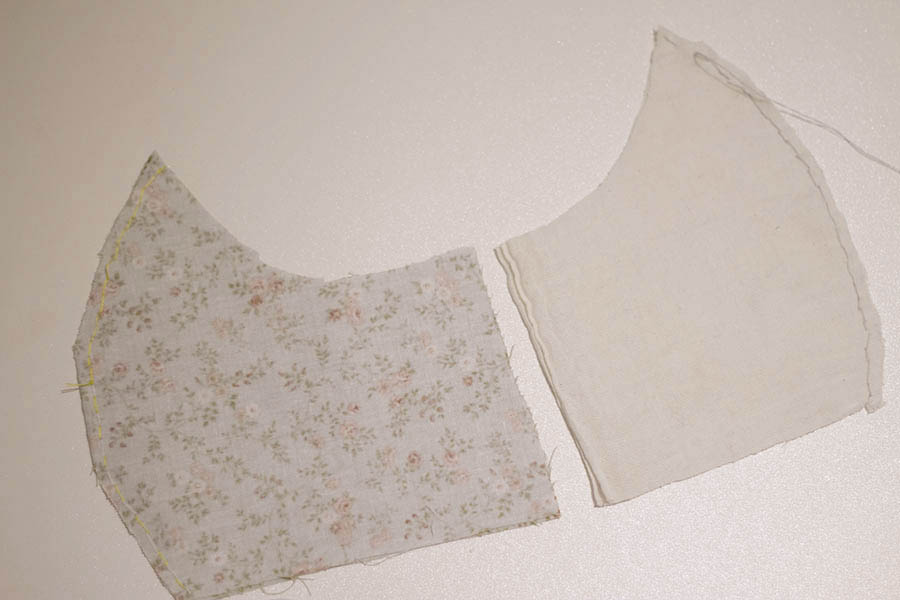
7. Sew the top curves of the cloth (see below photo).
8. Sew the edges opposite the curve as well, leaving the two sides open.
9. You can put a nose wire on the tip by now, but it is also possible to do later. If you are using a sewing machine, placing the wire is better to do later. Since I’m doing this handsewn, I placed the wire securely with threads (sorry forgot a photo).

10. (Minos, our ginger cat, decided to join the photo again.) Turn the mask inside out.
11. Fold the sides of the front cloth neatly. Because I used the edges for the side of the lining, there’s no need to sew it. Iron the piece carefully.
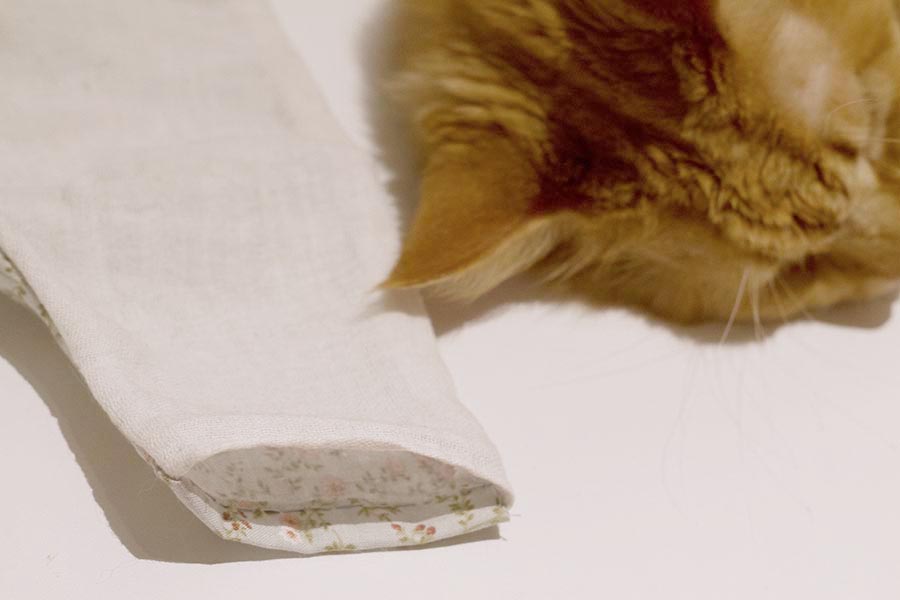
12. Sew the sides of the front cloth, as you can see in the above photo. Do not sew the lining with the front side, leave it open so you can insert a filter in this pocket.
13. Insert the nose wire if you haven’t yet, put in the center firmly. Then secure it by running a stitch on the whole length off the side, kind of trapping the wire in.
14. Sew your elastic on one side. Fit the mask along with the elastic, try to see how long you need when you put it up your ear.

15. You can either sew the elastic on the top part, and then below forming a letter C. It will be held in place by the ears. Or you can sew one end on the top left, and another end on the top right of the mask, do the same for the lower part. Going around the head, this will have a better hold, in my opinion.
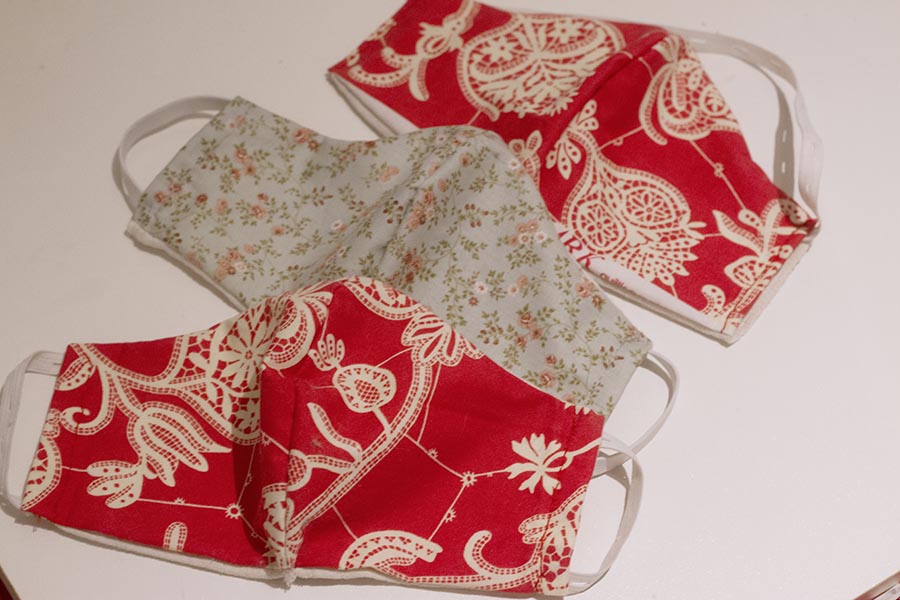
16. Voila! Fit your mask and adjust the nose wire. Insert a filter, ideally medical mask grade, before you go out in public.
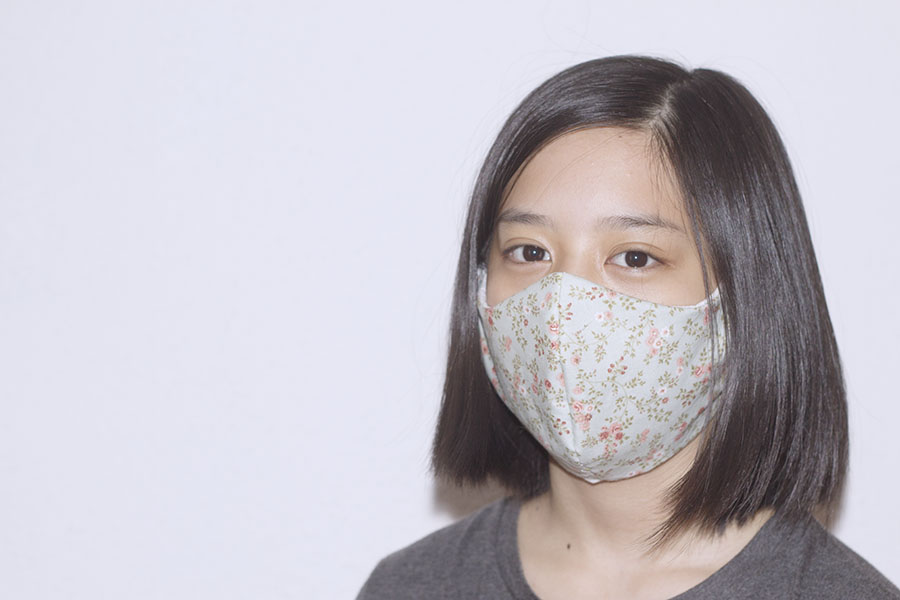
How To Sew a Fitted Face Mask: Adjustments
You can make this mask for kids as well, just cut the patterns smaller.
Try the mask on before sewing the elastics, make sure that they won’t be loose when you wear them. Have you tried a how to sew a fitted face mask tutorial lately? If yes, we would like to see your method, please let us know in the comments. If you decide to this tutorial, we would be happy to share your finished products on our facebook page.
Now, that you have finished one, learn how to safely wear a face mask. Yes, there’s a proper way to do it! 🙂
|
|
|


